DTF printing, short for Direct to Film printing, is a revolutionary and versatile printing technology that has gained popularity in recent years. It allows you to transfer vibrant, high-quality designs onto a wide range of materials, making it a fantastic choice for custom apparel, home decor, and more. In this blog post, we'll break down the DTF printing process from start to finish, making it easy for readers to understand the technology behind it.
1. Design Creation and Preparation
The DTF printing process begins with the creation of a digital design. This design can be a custom artwork, logo, or any image you want to print. Once the design is ready, it is converted into a digital file format compatible with DTF printing. Common file formats include JPEG, PNG, or TIFF.
2. Printing the Film
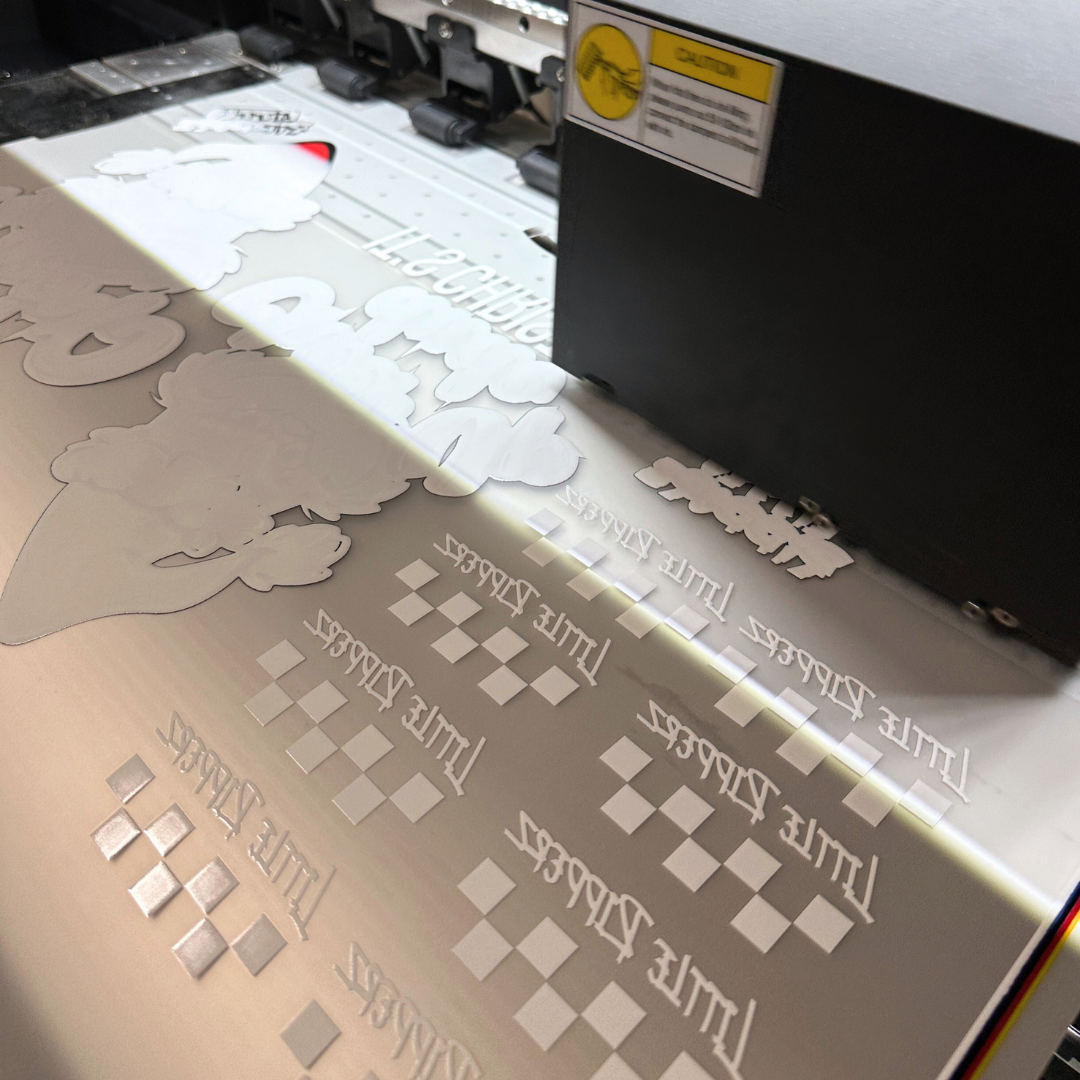
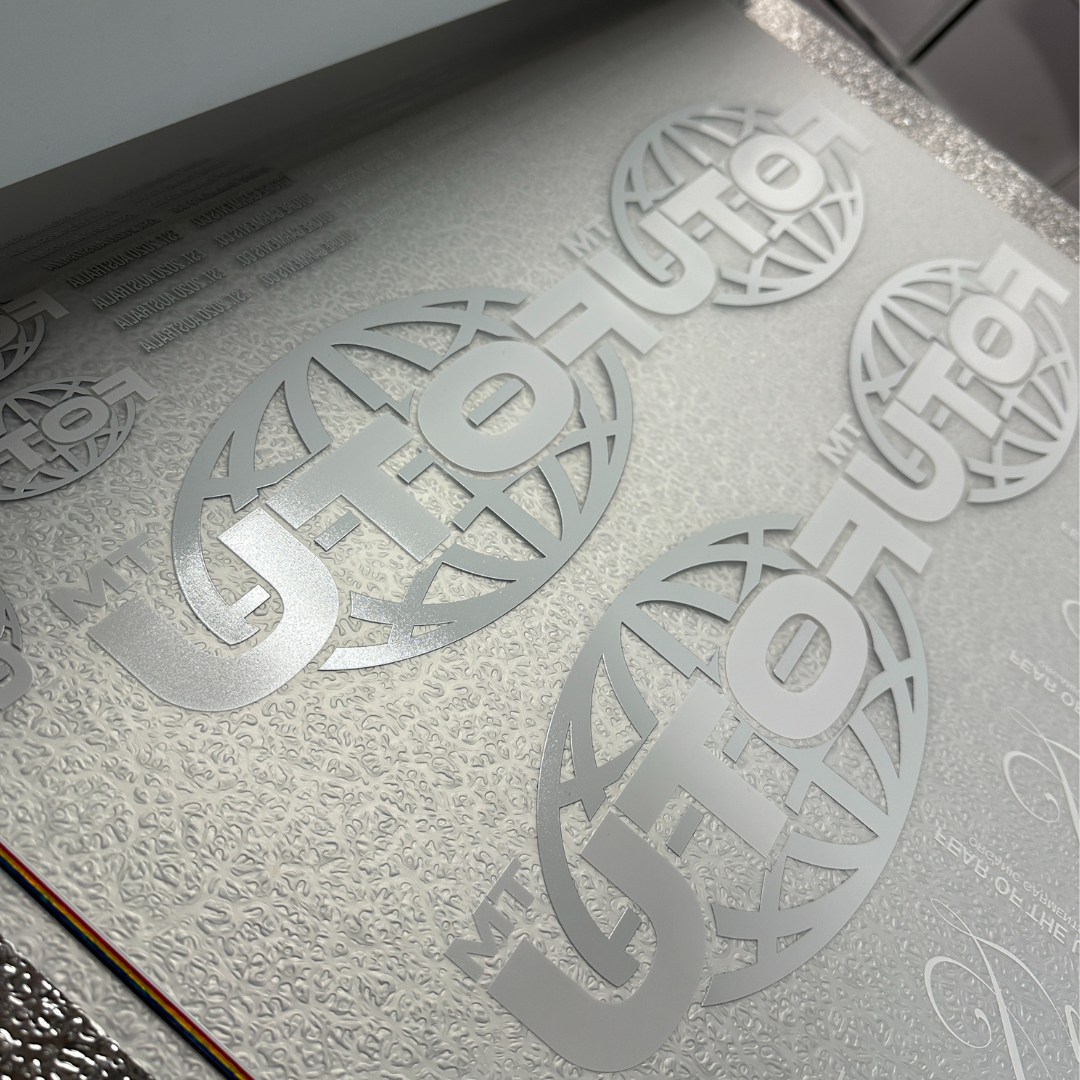
The next step involves printing the digital design onto a special type of film, known as a DTF film. DTF films are designed to hold the ink and provide a stable surface for the printing process. A DTF printer is used to accurately reproduce the design onto the film. This printer uses eco-solvent or water-based inks, which are known for their durability and color vibrancy.
3. Heat Press and Pre-treatment
Before transferring the design to the final material, the DTF film needs to be pre-treated. Pre-treatment is a crucial step to ensure the ink adheres properly. A heat press machine is used to pre-treat the film by applying heat and pressure. This process helps the ink to bond with the film, ensuring a high-quality print.
4. Applying the Adhesive Powder
After pre-treatment, an adhesive powder is applied to the printed design on the DTF film. This powder helps the ink adhere to the material you want to print on, such as clothing or textiles. It is essential to evenly distribute the adhesive powder to ensure the design transfers correctly.
5. Heat Press Transfer
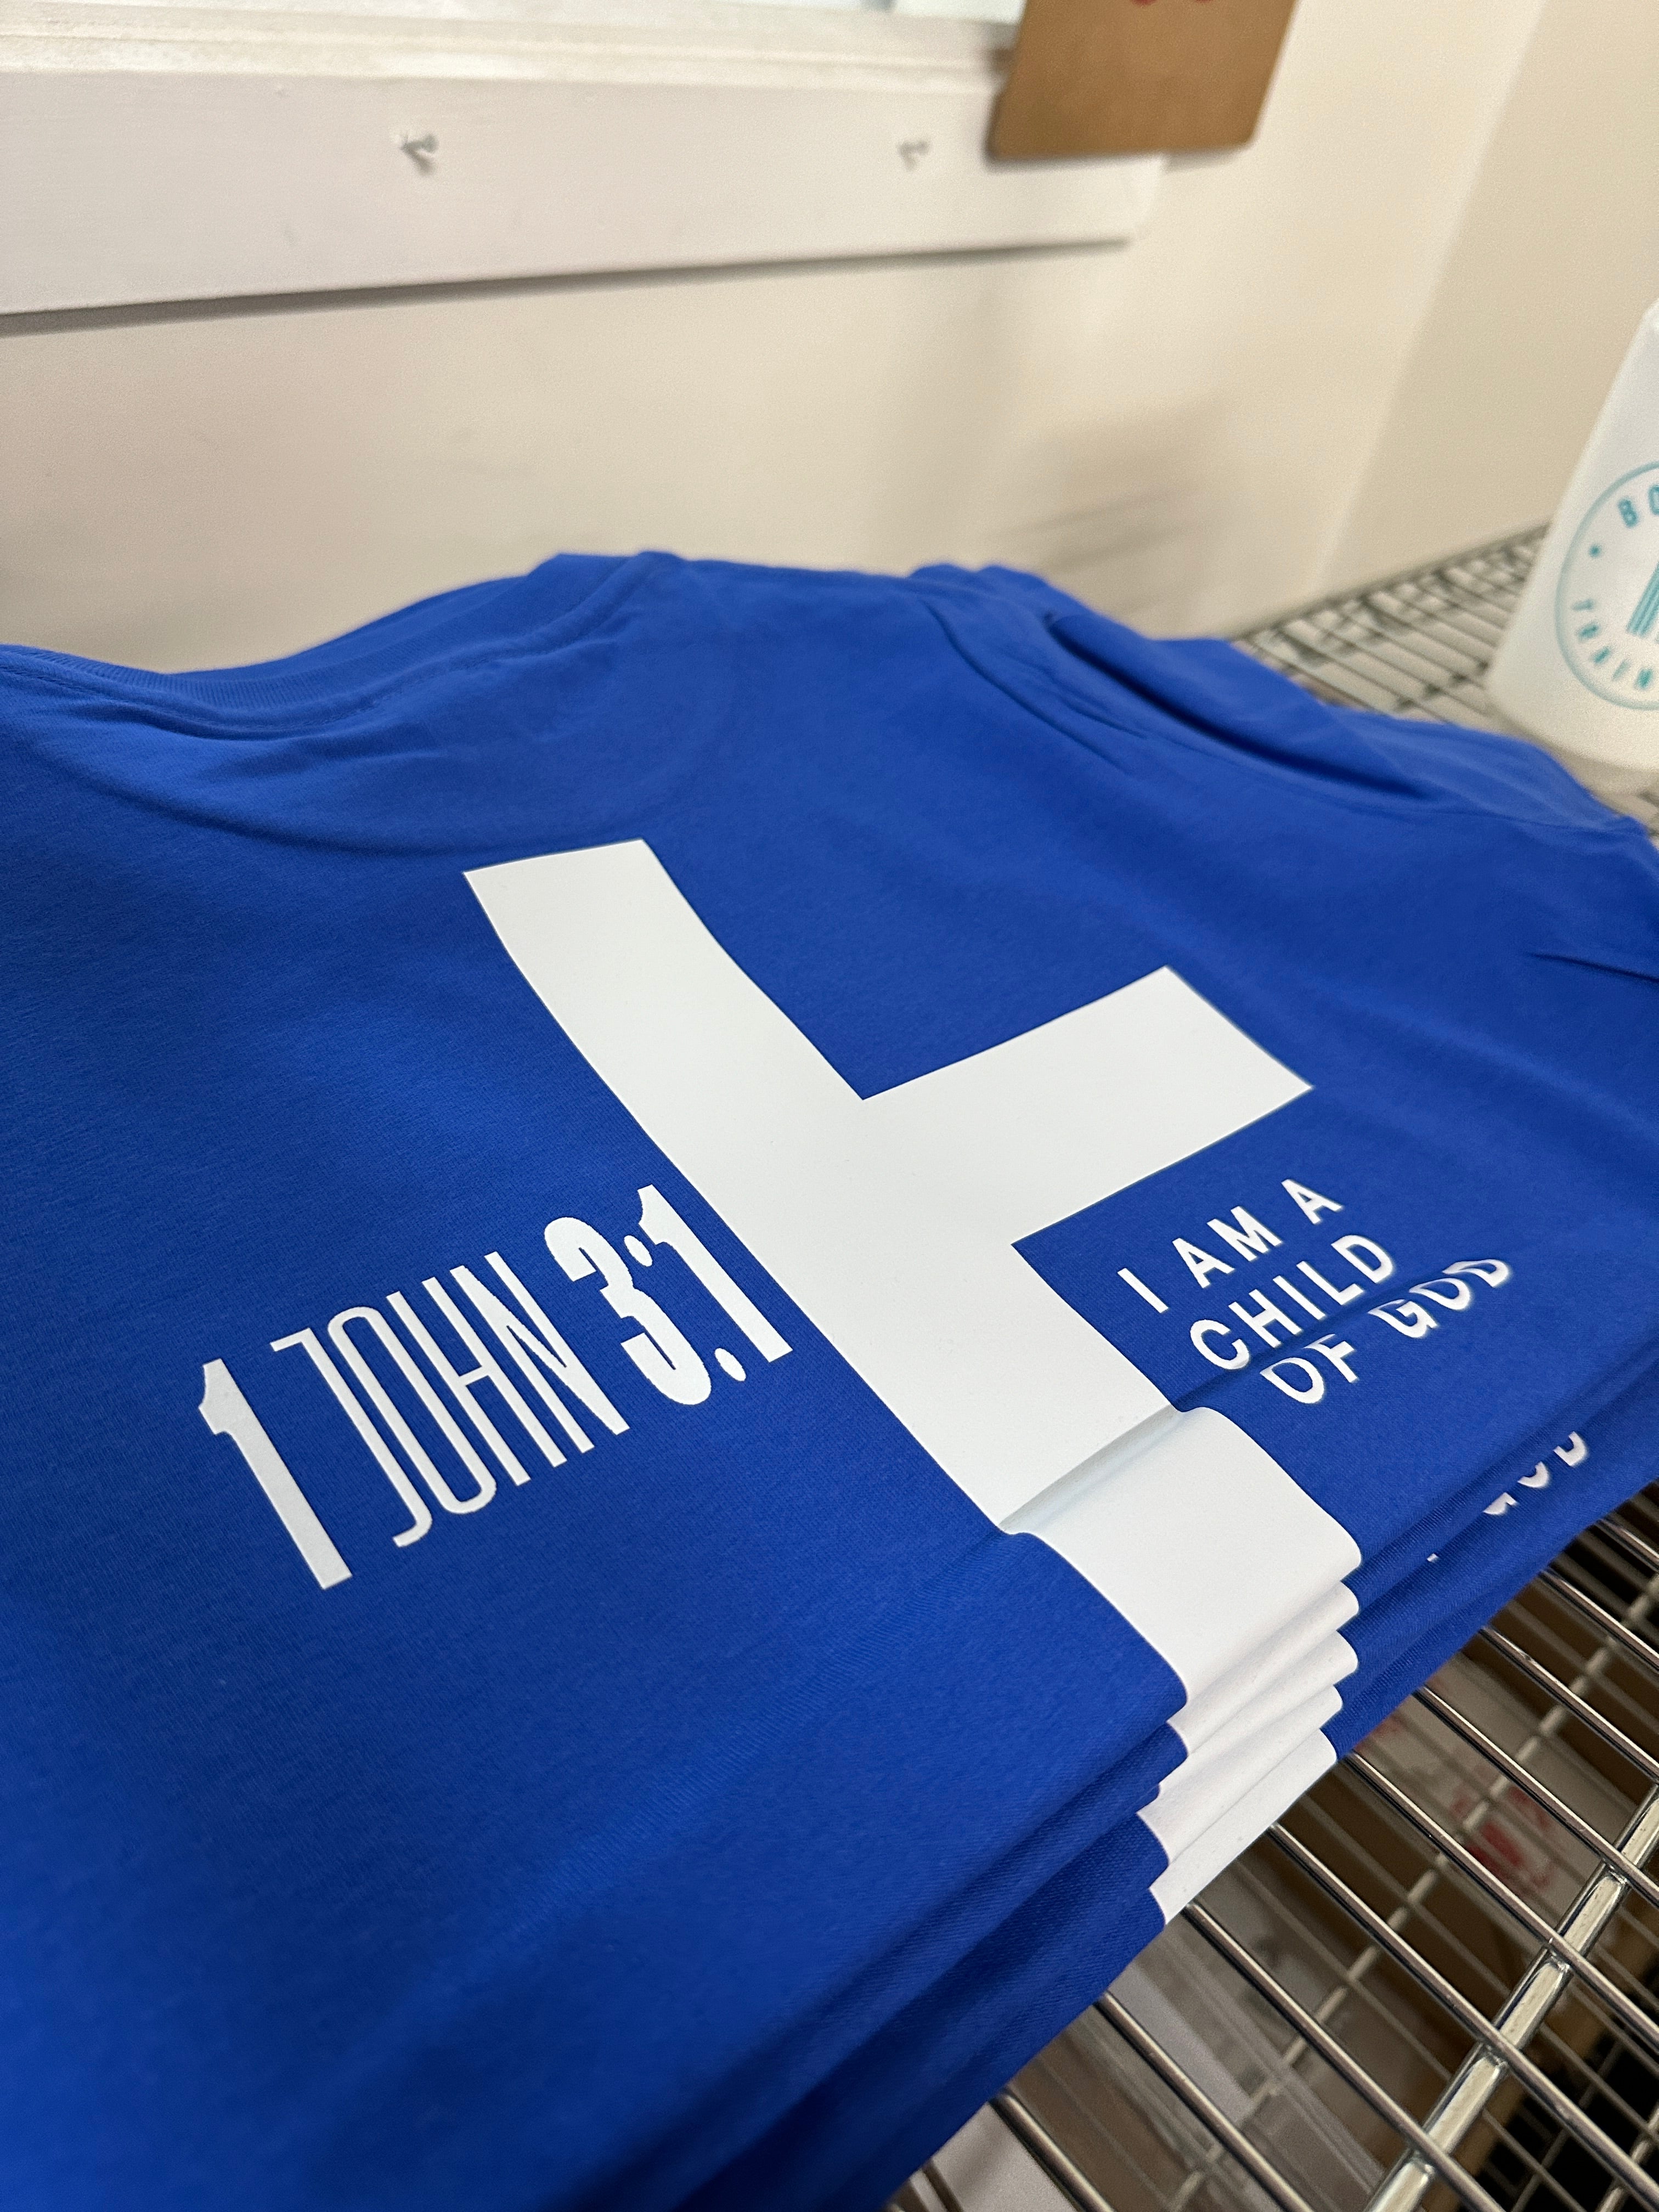
Now, it's time to transfer the design from the DTF film to the final material. The material is placed onto a heat press machine, and the DTF film is positioned on top of it, with the printed side facing down. Heat and pressure are applied using the heat press machine. This process causes the ink on the DTF film to transfer onto the material, adhering to it permanently.
6. Curing and Cooling
Once the transfer is complete, the printed material is removed from the heat press. It may still feel warm at this stage. To ensure the ink fully sets and adheres to the material, it's important to let it cool down and cure. Curing times can vary depending on the specific ink and material used.
7. Post-Processing
The last step involves post-processing, which includes removing any excess adhesive powder and ensuring the design is well-attached. This can be achieved by gently shaking or brushing off the excess powder and inspecting the print for any imperfections. Any necessary touch-ups can be made at this stage.
Conclusion
DTF printing is a versatile and powerful technology that can bring your creative ideas to life on a variety of materials. By following the steps outlined in this post, you can better understand the DTF printing process from start to finish. Whether you're interested in custom clothing, home decor, or promotional products, DTF printing offers a reliable and high-quality solution for your printing needs. So, get ready to explore your creative side and start producing stunning, personalized items with DTF printing technology!


Leave a comment
This site is protected by hCaptcha and the hCaptcha Privacy Policy and Terms of Service apply.