01

02

03
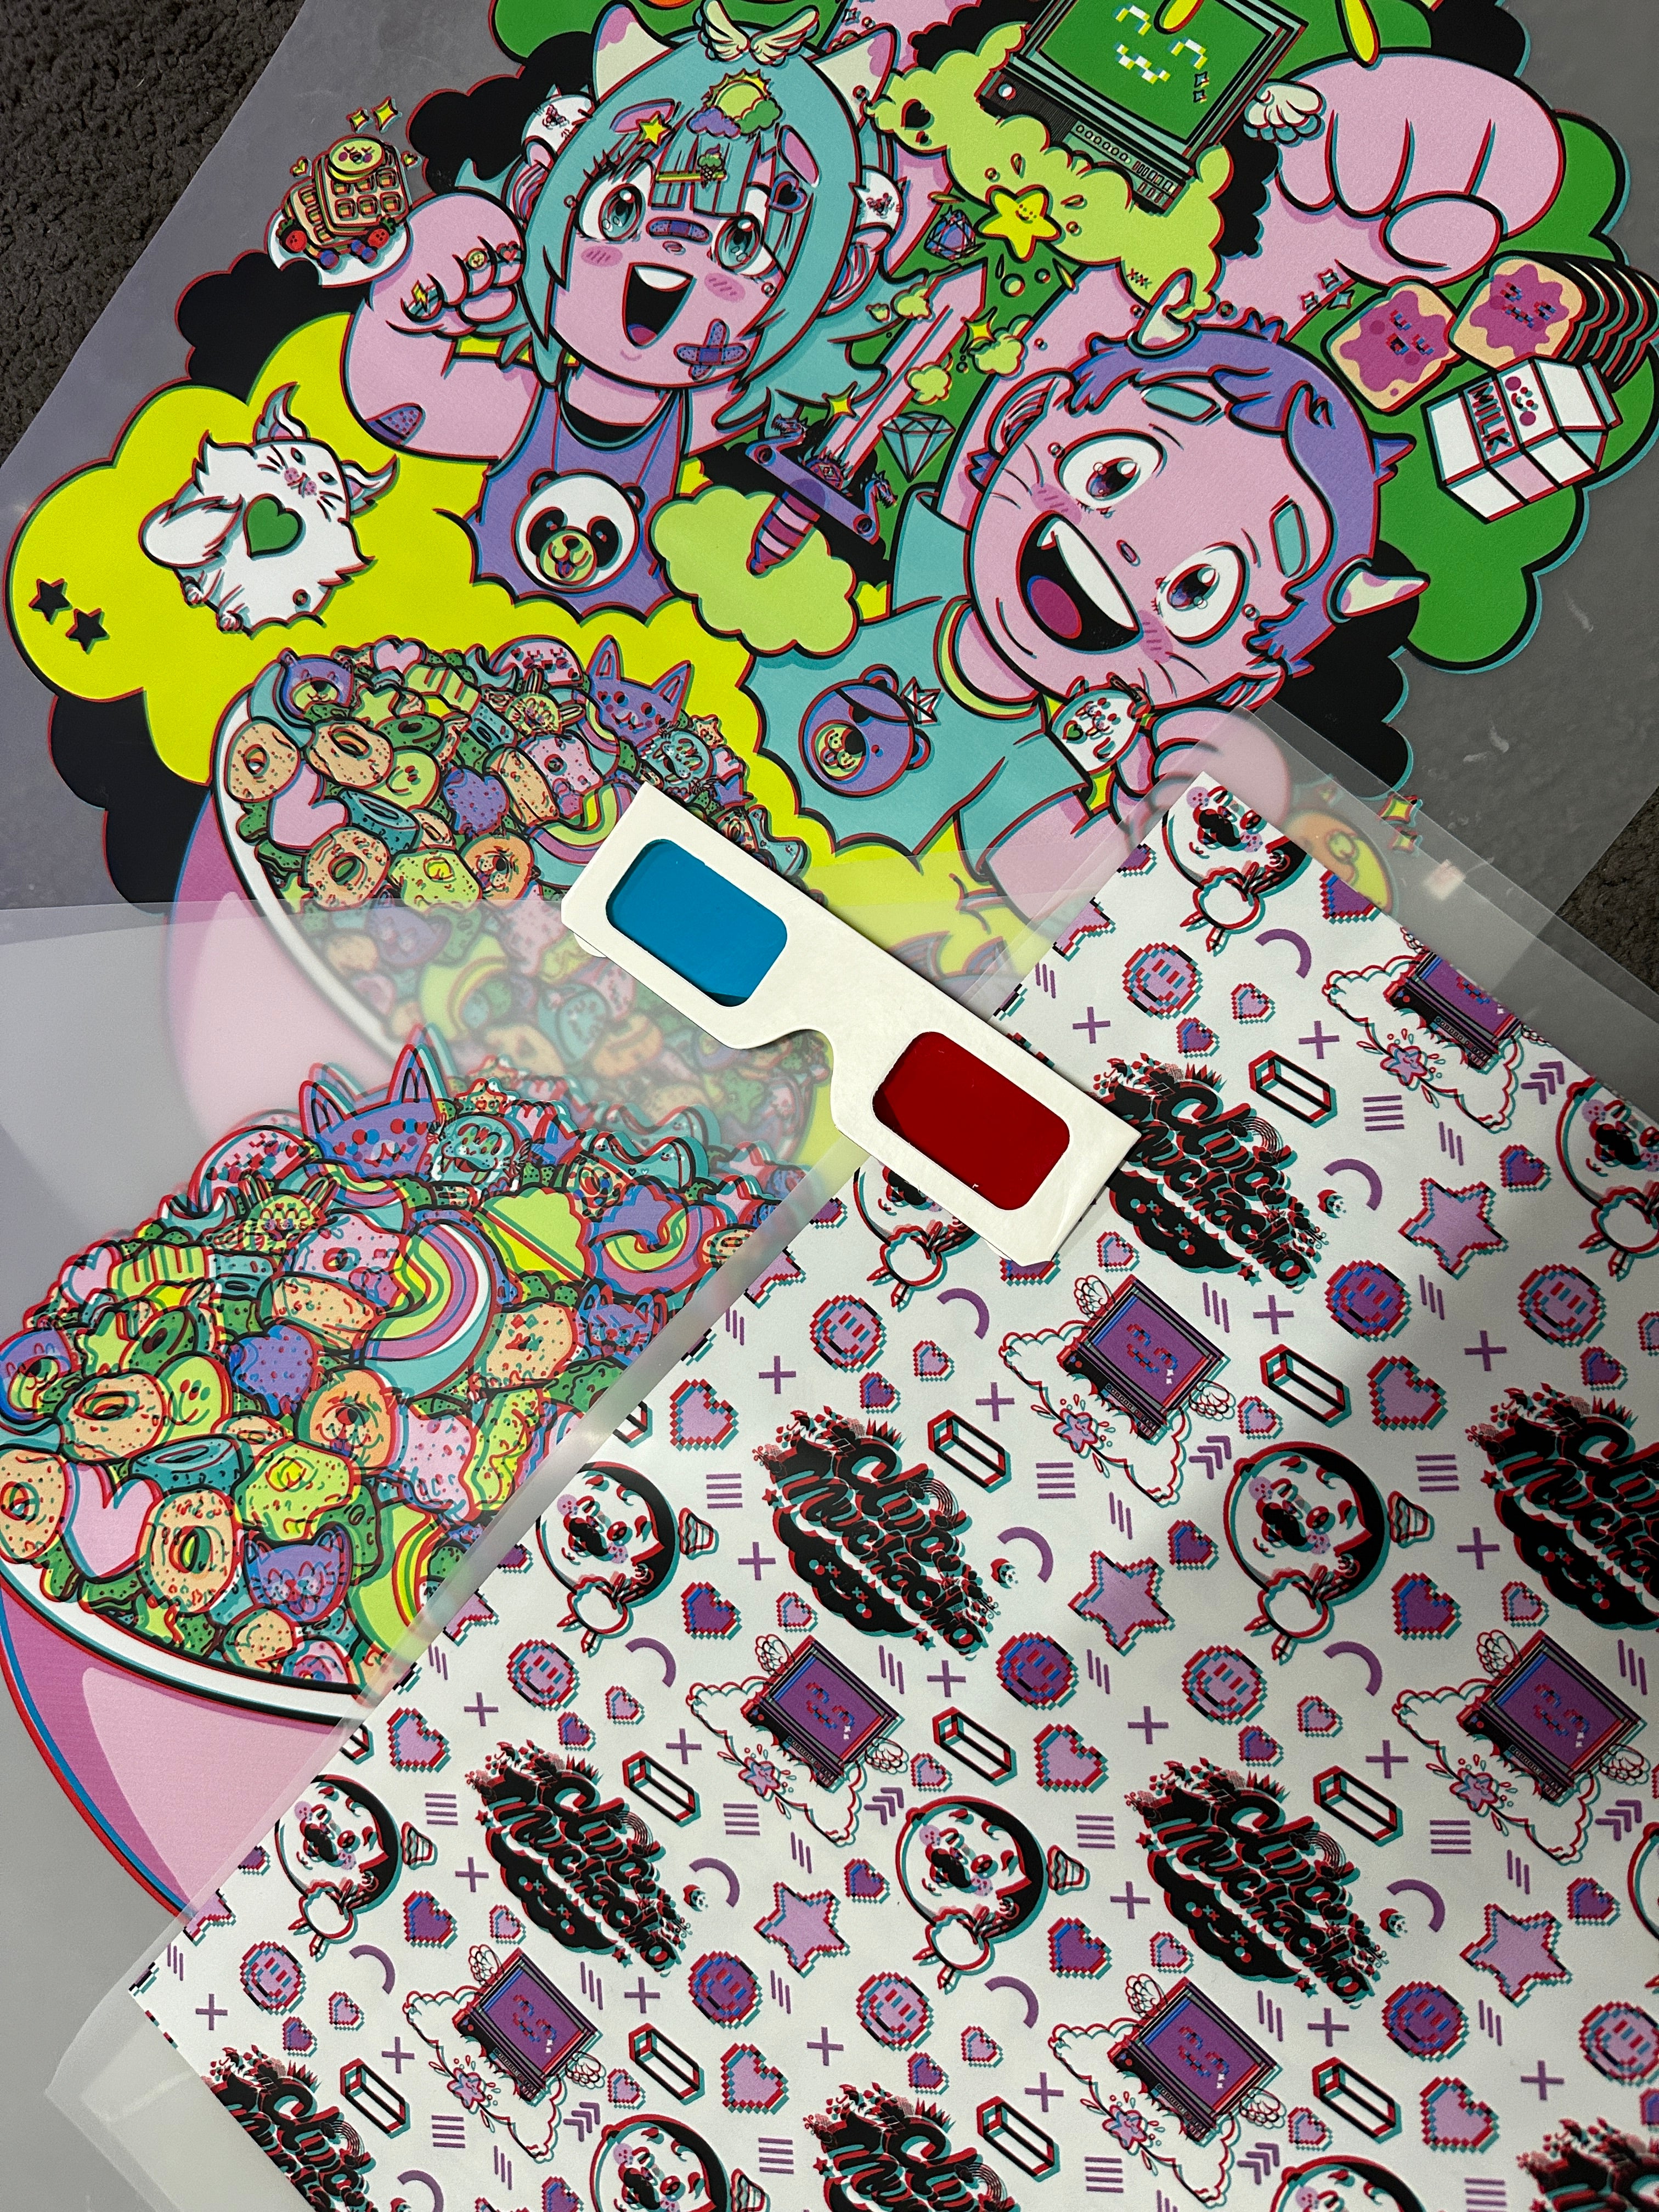
Click here for a link explaining commonly occurring print bubbles and why they will not effect your prints at all.
04
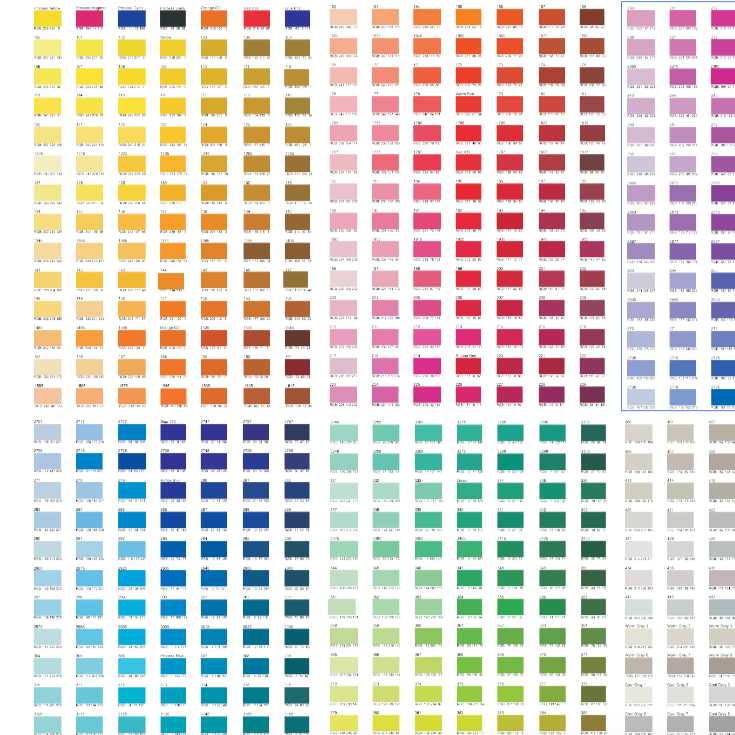
Click here for a video explaining our colour chart and why you should use one.
01
02
03
Click here for a link explaining commonly occurring print bubbles and why they will not effect your prints at all.
04
Click here for a video explaining our colour chart and why you should use one.